
Are you tired of complicated invoicing tools that waste your time and money? What if you could create a simple, professional invoice right in Excel—customized exactly the way you want it?
In this guide, you’ll discover easy steps to build your own invoice software using Excel. No special skills needed, just clear instructions that save you effort and help you get paid faster. Ready to take control of your billing? Let’s dive in and make invoicing work for you.

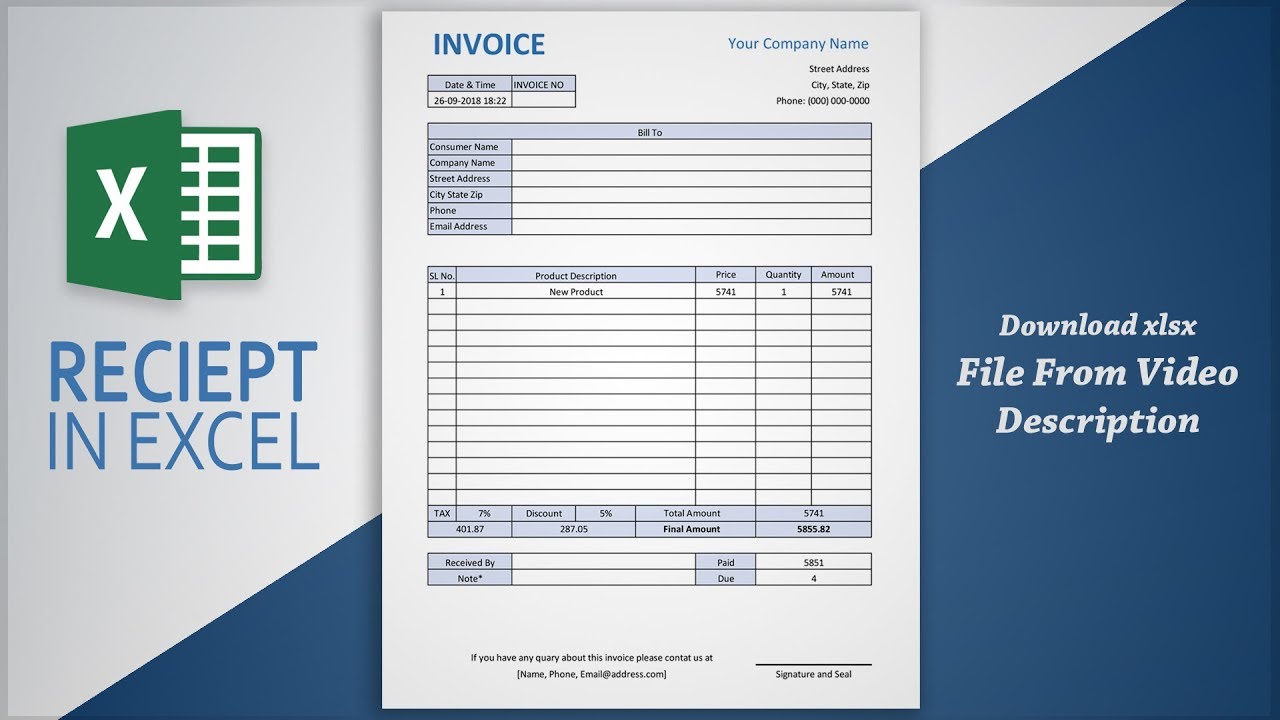
Credit: www.youtube.com
Set Up Your Workbook
Setting up your workbook is the first step to creating invoice software in Excel. A well-organized workbook helps keep your invoices clear and easy to manage. It also saves time when entering data or making updates.
Start by preparing a new Excel file. Then, design a layout that fits your business needs. A clean, simple design makes your invoice look professional.
Create A New Excel File
Open Excel and select a blank workbook. Save the file with a clear name like “Invoice_Template”. This helps you find it easily later. Set the worksheet name to “Invoice” for clarity.
Check that your Excel settings use the right date and number formats. This ensures your invoice data is accurate. Adjust column widths to fit your information without crowding.
Design The Invoice Layout
Start with the header. Add your company name and contact details at the top. Leave space for the invoice number and date on the right side.
Create sections for billing and shipping addresses below the header. Use separate cells for each piece of information. This helps if you want to print or email the invoice later.
Design a table for listing items. Include columns for description, quantity, price, and total. Format these cells to show currency and numbers properly.
Add a section for subtotal, tax, and total amount. Use formulas to calculate these automatically. This reduces errors and speeds up invoice creation.
Credit: www.youtube.com
Add Essential Invoice Details
Adding essential invoice details is key to making a clear and useful invoice. These details help both you and your customer understand the transaction. They also make your invoice look professional and complete.
Each invoice should clearly show who is sending it, who will pay it, and what the charges are for. Organizing these details in Excel is simple and keeps your records neat.
Insert Company Information
Start by entering your company’s name at the top of the invoice. Include your address, phone number, and email. This helps customers contact you easily. You can also add your company logo to make your invoice look official.
Include Customer Details
Next, add the customer’s name and contact details. Include their address and phone number. This ensures the invoice reaches the right person. It also helps track who owes payment.
List Products Or Services
Create a table to list all products or services sold. Include a description, quantity, and price for each item. Add a column for the total cost per item. This makes the invoice clear and easy to understand.
Use Formulas For Calculations
Using formulas in Excel makes your invoice accurate and fast. Formulas help calculate totals, taxes, discounts, and final amounts automatically. This saves time and reduces errors.
Formulas work by taking numbers from your invoice and doing math on them. You only need to enter the data once. Excel updates the results instantly.
Calculate Item Totals
Start with the item total. Multiply the quantity by the price per item. Use the formula =B2C2 where B2 is quantity and C2 is price. Drag the formula down to calculate totals for all items.
This step gives you the cost for each product or service. It is the base for the rest of the invoice calculations.
Add Taxes And Discounts
Next, calculate taxes and discounts. Use a formula like =SUM(D2:D5)0.10 to add 10% tax on the total items. For discounts, use =SUM(D2:D5)0.05 for 5% off.
Place these formulas in separate cells. This keeps your invoice clear and easy to read.
Compute The Final Amount
Finally, compute the final amount. Subtract discounts from the total items, then add taxes. The formula looks like =SUM(D2:D5)-E2+F2. Here, E2 is discount and F2 is tax.
This shows the total the customer must pay. It updates automatically if you change quantities or prices.
Format For Clarity And Style
Formatting your invoice in Excel is key to making it clear and professional. Good format helps clients read the invoice easily. It also makes your document look neat and organized. Simple style choices improve both look and function. Follow these steps to format your invoice well.
Apply Cell Formatting
Start by selecting cells with important data. Use bold text for headers like “Item” and “Price.” Choose a clean font like Arial or Calibri. Set font size between 10 and 12 for easy reading. Align numbers to the right and text to the left. Use number formats for currency to show prices clearly. This helps avoid confusion and makes your invoice look tidy.
Use Borders And Shading
Add borders around tables to separate sections clearly. Use thin lines for borders to keep the look simple. Shade header rows with light colors to highlight them. Avoid dark or bright colors that distract from the content. Shading alternate rows can improve readability by guiding the eye. Borders and shading create a clear structure in your invoice.
Set Print Area And Page Layout
Define the print area to include only the invoice content. This prevents extra blank pages when printing. Set the page orientation to portrait for standard invoices. Adjust margins to leave enough space around the edges. Use the print preview to check how the invoice looks on paper. Proper layout ensures your invoice prints cleanly and fits well on one page.
Add Automation Features
Adding automation features to your invoice software in Excel saves time and reduces errors. Automation makes your invoice easier to use and more professional. It helps with data entry, highlights important details, and protects your work.
Create Drop-down Lists
Drop-down lists let you pick options instead of typing. This speeds up your work and avoids mistakes. For example, create lists for product names or payment terms. Use Excel’s Data Validation tool to set up these lists. This keeps your invoice consistent and clean.
Use Conditional Formatting
Conditional formatting changes the look of cells based on rules. It can highlight overdue payments or show totals above a limit. Apply colors or bold text to important data. This makes it easy to spot key information quickly. It also improves the invoice’s visual appeal.
Protect The Invoice Template
Protecting your invoice template stops accidental changes. Lock cells that have formulas or fixed text. Allow users to fill only specific areas like customer details or item quantities. Use Excel’s Protect Sheet feature with a password. This keeps your template safe and reliable.

Credit: www.spreadsheet123.com
Test And Save Your Invoice
Testing and saving your invoice in Excel is a crucial step. It ensures your invoice works perfectly before use. This step helps avoid errors that could cause confusion or loss of money.
After building your invoice, take time to review every detail. Make sure formulas calculate totals and taxes correctly. Save your work properly to reuse later. Also, learn how to share your invoice easily with clients.
Check Formula Accuracy
Start by reviewing each formula in your invoice. Verify that calculations for totals, taxes, and discounts are correct. Test with different numbers to see if results change as expected. Look out for common mistakes like wrong cell references or missing parentheses. Fix any errors before moving forward.
Save As Template
Save your invoice file as a template for future use. Use the “Save As” option and select Excel Template (.xltx). This keeps your layout and formulas intact. You can create new invoices without changing the original. It saves time and keeps your work consistent.
Export And Share Options
Export your invoice to PDF to protect its format. PDFs are easy to send and open on any device. Use Excel’s export feature to create a PDF copy. You can also share the Excel file directly if your client needs to edit it. Choose the best option based on your client’s needs.
Frequently Asked Questions
What Are The Basic Steps To Create Invoice Software In Excel?
To create invoice software in Excel, start by designing a template. Include fields like item details, quantity, price, and total. Use formulas for automatic calculations. Add customer info and invoice numbers. Format for clarity and save as a reusable file.
How Can Excel Formulas Automate Invoice Calculations?
Excel formulas like SUM, IF, and multiplication automate calculations. They add item totals, apply discounts, and calculate taxes. This reduces errors and speeds up invoice creation. Proper formula use ensures accurate billing every time, enhancing efficiency.
Can Excel Handle Multiple Invoices In One File?
Yes, Excel can manage multiple invoices using separate sheets or tables. Use a master sheet to track all invoices. Linking sheets helps maintain organized records. This method simplifies invoice management within a single file.
Is It Possible To Customize Invoices In Excel?
Excel allows full customization of invoices. Change fonts, colors, and layouts to match branding. Add logos and custom fields. This flexibility helps create professional and unique invoices suited to your business needs.
Conclusion
Creating invoice software in Excel is simple and useful. You can save time and keep records neat. Just follow the steps, add formulas, and customize as needed. This tool helps track payments and manage your business easily. Practice a little, and you will improve quickly.
Excel makes your work clearer and faster. Try building your own invoice today and see the difference.
